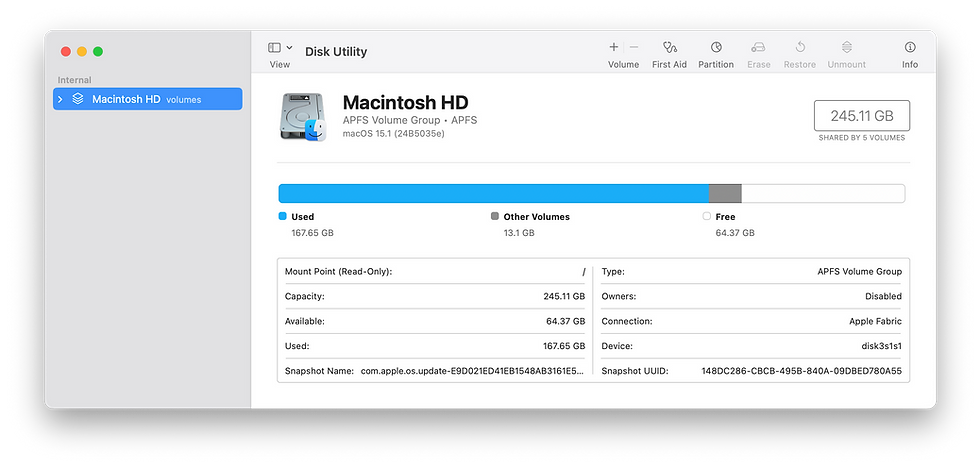
Exploring Disk Utility on macOS: History, Usefulness, and How to Use It
- aneilio
- Sep 25, 2024
- 3 min read

Disk Utility is one of the most essential tools built into macOS, providing users with powerful disk management capabilities. From formatting drives to repairing disk errors, Disk Utility plays a critical role in maintaining the health and performance of your Mac. In this blog post, we'll explore the history of Disk Utility, why it's useful, and how you can use it to manage your storage devices.
The History of Disk Utility
Disk Utility has been a part of the macOS (formerly Mac OS X) operating system since its inception in 2001. It was introduced as a replacement for several older utilities that performed similar tasks, such as Disk Copy and Drive Setup. Over the years, Disk Utility has evolved alongside macOS, gaining new features and a more user-friendly interface. In macOS El Capitan (released in 2015), Disk Utility received a significant redesign, making it easier for users to navigate its features while retaining its core functionality.
Why Disk Utility Is Useful
Disk Utility is an indispensable tool for managing your Mac’s storage. Here are some of the key reasons why it’s so useful:
1. Disk Formatting and Partitioning: Disk Utility allows you to format and partition internal and external drives. This is essential when setting up a new drive, preparing a drive for a specific file system, or creating separate partitions for different types of data.
2. Disk Repair: One of the most valuable features of Disk Utility is its ability to diagnose and repair disk errors. The First Aid tool can check a disk’s file system for errors and fix issues that could lead to data corruption or drive failure.
3. Disk Image Creation: Disk Utility lets you create disk images, which are files that contain the complete contents of a disk or folder. Disk images are useful for creating backups, distributing software, or storing a secure copy of sensitive data.
4. Secure Erase: When you need to erase a disk securely, Disk Utility offers options to overwrite the disk’s contents multiple times, making it much harder for data to be recovered.
How to Use Disk Utility

Using Disk Utility is straightforward, but here’s a basic guide to help you get started:
1. Opening Disk Utility: To open Disk Utility, go to `Applications > Utilities > Disk Utility`, or use Spotlight by pressing `Command + Space` and typing "Disk Utility."
2. Formatting a Drive:
- Select the drive you want to format from the list on the left.
- Click the “Erase” button at the top of the window.
- Choose a format (such as APFS, Mac OS Extended, or ExFAT) and give the drive a name.
- Click “Erase” to format the drive.
3. Partitioning a Drive:
- Select the drive you want to partition.
- Click the “Partition” button.
- Use the pie chart or the “+” button to add a new partition.
- Assign a name, format, and size to each partition.
- Click “Apply” to create the partitions.
4. Running First Aid:
- Select the disk or partition you want to check.
- Click the “First Aid” button.
- Disk Utility will check the disk for errors and attempt to repair any issues it finds.
Conclusion
Disk Utility is a powerful and versatile tool that every Mac user should be familiar with. Whether you’re managing a new drive, troubleshooting disk issues, or securely erasing data, Disk Utility provides the features you need to keep your Mac’s storage in top shape. By understanding how to use Disk Utility, you can take control of your storage devices and ensure the smooth operation of your Mac.


Comments